1. Observe the problem during or immediately after rain
Photograph or sketch where water first appears, where it moves and where it stops. A puddle after the storm is useful evidence, but watching the water arrive is even better because it separates a low spot from a supply problem.
2. Identify every concentrated source
Mark downspouts, roof valleys, driveway edges, patios, uphill swales and any neighbor or street runoff that reaches the property. Use the downspout guide when roof water is part of the problem.
3. Measure how long water persists
Record whether visible water disappears during the storm, within a few hours, by the next day or remains longer. Repeated observations help distinguish transient surface routing from a persistently wet area that deserves soil or subsurface investigation.
4. Mark at least one candidate outlet
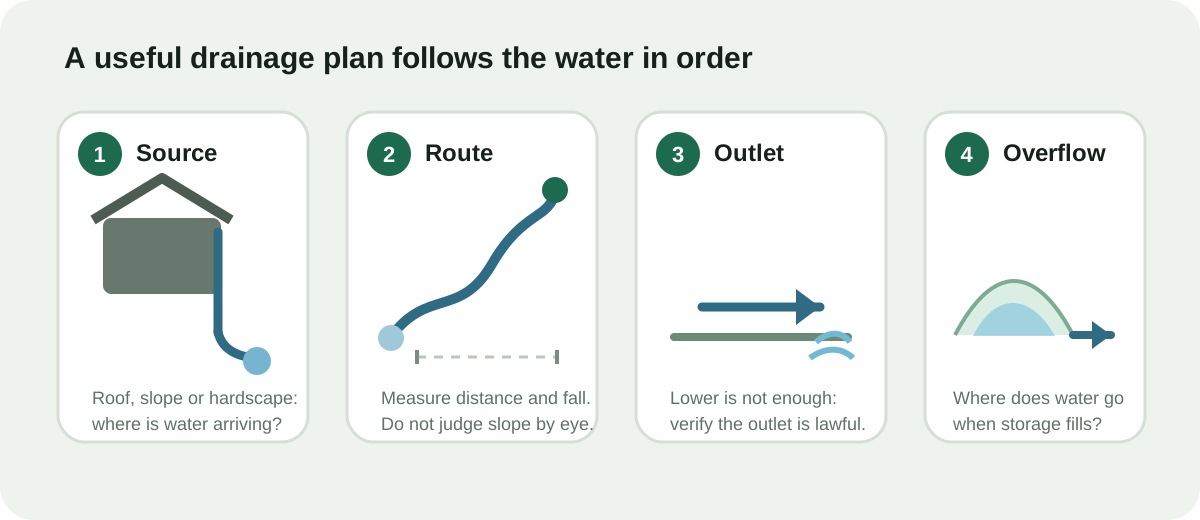
An outlet is not simply “somewhere downhill.” It needs to be lower enough for the proposed route and also lawful and stable. Do not assume a property edge, street, ditch or neighboring low area is an acceptable discharge point.
5. Measure route length and vertical fall
Use a level, laser, water level or survey information appropriate to the consequence of the job. Enter the run and drop in the grade calculator. End-to-end slope is useful, but also check intermediate high points.
6. Estimate the water volume
For roofs and pavement, estimate rainfall × contributing area before selecting storage. The runoff calculator keeps the coefficient visible so you can see what assumption drives the result.
7. Check whether surface routing can solve the problem first
Visible grading and shallow swales are easier to inspect than buried systems. If broad sheet flow is the main problem and there is room for a continuous gravity route, compare those options before defaulting to a trench.
8. Test the actual infiltration location if storage depends on soil
A county soil label is not the same as a field observation at the proposed dry-well or rain-garden location. Use repeated readings with the soil infiltration worksheet, then follow any locally required method before design.
9. Check buried and legal constraints
Locate utilities before excavation. Verify property boundaries, easements, wells, septic components, retaining walls and any locally required setbacks. The fact that a route fits on a sketch does not create a right to excavate or discharge there.
10. Plan the overflow before sizing the storage
Barrels, cisterns, basins, rain gardens and dry wells all fill eventually. Decide where water goes once storage is full or infiltration slows. Overflow should not send the same water back toward the building or onto neighboring property.
11. Decide how the system will be inspected and cleaned
Surface inlets need debris access. Buried pipes need cleanout strategy. Swales need vegetation and erosion maintenance. Infiltration features can accumulate sediment. A solution that cannot be inspected is harder to troubleshoot when performance changes.
12. Build a short project brief before requesting quotes
Give a contractor or designer the measured route, storm/catchment assumptions, photos, known utilities and the outlet/overflow question. The Wrivel property planner can generate a concise project brief from the same inputs.
Printable field checklist
- Water source photographed or sketched during rain.
- Downspouts and hard surfaces mapped.
- Wet-area persistence recorded after at least one storm.
- Candidate outlet identified and discharge rights checked.
- Route length measured.
- Vertical fall / grade breaks measured.
- Contributing area and storm volume estimated.
- Surface-routing option considered.
- Soil/infiltration checked where relevant.
- Utilities, boundaries, wells and septic constraints checked.
- Larger-storm overflow route identified.
- Maintenance and cleanout access planned.